- 1. 概要
- 2. mate-screenshot
- 3. xfce4-screenshooter
1. 概要

 「Mageia 9」では、「mate-screenshot」を使いました。
 「Mageia 10」では、「xfce4-screenshooter」を使用します。

2. mate-screenshot

 以下、「Mageia 9」での操作です。
 「root」ユーザ権限で。


dnf install -y mate-utils


 キーボードショートカットを設定します。
 ログインユーザで。


vi ~/.config/openbox/lxde-rc.xml


  <!-- Launch gnome-screenshot when PrintScreen is pressed -->
  <keybind key="Print">
      <action name="Execute"><command>gnome-screenshot -i</command></action>
  </keybind>


 を下記へ書き換えます。


  <!-- Launch gnome-screenshot when PrintScreen is pressed -->
  <keybind key="Print">
      <action name="Execute"><command>mate-screenshot -w</command></action>
  </keybind>


 これで、ログインしなおせば

	・Print		アクティブウインドウをキャプチャして、「mate-screenshot」が起動

 が機能します。

3. xfce4-screenshooter

 以下、「Mageia 10」での操作です。
 「root」ユーザ権限で。


dnf install -y xfce4-clipman-plugin xfce4-screenshooter


 以下、ログインユーザで。
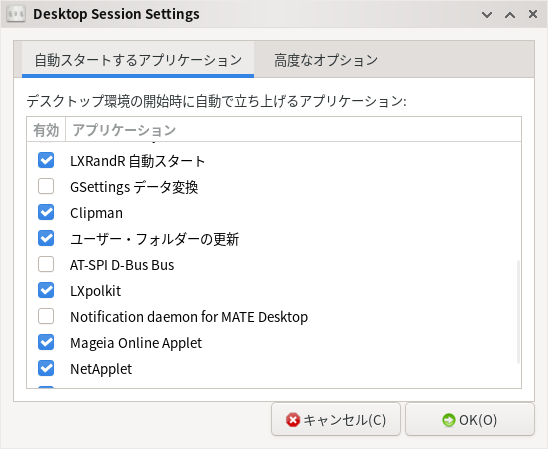
 「スタート」→「ツール」→「デスクトップセッションの設定」
 「clipit」のチェックをはずします。
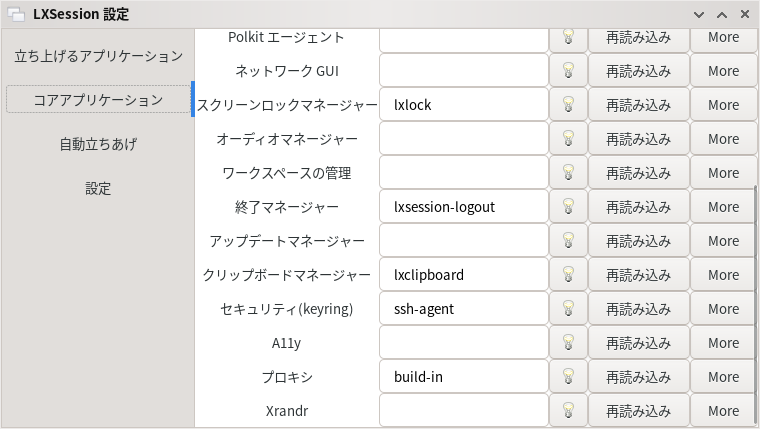
 「スタート」→「ツール」→「LXSession のデフォルトのアプリケーション」
 「コアアプリケーション」のクリップボードマネージャを削除します。
vi ~/.config/openbox/lxde-rc.xml


  <!-- Launch gnome-screenshot when PrintScreen is pressed -->
  <keybind key="Print">
      <action name="Execute"><command>gnome-screenshot -i</command></action>
  </keybind>


 の下へ下記の行を追加します。


  <keybind key="C-Print">
      <action name="Execute"><command>xfce4-screenshooter -c -w</command></action>
  </keybind>


 これで、ログインしなおせば

	・Print		アクティブウインドウをキャプチャしてクリップボードにコピー

 が機能します。
|
|