- 1. 概要
- 2. インストール
- 3. 環境設定
- 4. /etc/rc.conf 編集
- 5. 再起動
- 6. 補足
- 7. 参考サイト
1. 概要

 下記のデスクトップ環境を構築する手順を記述します。
| 種 別 | リソース・設定 | 備考 |
|---|
| ホスト | Windows11 25H2 | |
| 仮想環境 | VirtualBox 7.2.16 | |
| ゲスト | FreeBSD 14.5 RELEASE | |
| 仮想OS | BSD | |
| 仮想OSディストリビューション | FreeBSD | |
| 仮想OSバージョン | FreeBSD (64bit) | |
| ハードディスク | 180 GB | |
| メモリ | 4 GB | |
| CPU | 2コア | |
| グラフィックスコントローラ | VBoxSVGA 128MB 3D Disable | |
 ここまでの時点で、システムインストールと「VirtualBox Guest Additions」の設定は終わっているものとします。
 それぞれのインストール・設定に関しては、

	「FreeBSD - デスクトップ環境構築 - 共通事項 - システムインストール」
	「FreeBSD - デスクトップ環境構築 - 共通事項 - VirtualBox Guest Additions」

 をご参照ください。

2. インストール

 「root」ユーザ権限で。


pkg install -y xorg ja-font-migmix numlockx


pkg install -y gnome gnome-menus dconf-editor


 「gnome-menus」は、「Arc Menu」インストール時に必要になるので、あらかじめインストールしておきます。
 バージョンの推移です。

	・2020年11月 4日	「FreeBSD 12.2 RELEASE」	「gnome3-3.36」
	・2021年 6月11日	「FreeBSD 13.0 RELEASE」	「gnome3-3.36_4」
	・2023年 5月19日	「FreeBSD 13.2 RELEASE」	「gnome-42_2」
	・2024年 1月 4日	「FreeBSD 14.0 RELEASE」	「gnome-42_5」
	・2024年 3月15日	「FreeBSD 13.3 RELEASE」	「gnome-42_5」
	・2024年 6月21日	「FreeBSD 14.1 RELEASE」	「gnome-42_5」
	・2024年10月 1日	「FreeBSD 13.4 RELEASE」	「gnome-42_5」
	・2024年12月23日	「FreeBSD 14.2 RELEASE」	「gnome-42_5」
	・2025年 3月26日	「FreeBSD 13.5 RELEASE」	「gnome-42_5」
	・2025年 7月16日	「FreeBSD 14.3 RELEASE」	「gnome-47」
	・2025年12月25日	「FreeBSD 15.0 RELEASE」	「gnome-47」
	・2026年 4月 6日	「FreeBSD 14.4 RELEASE」	「gnome-47」
	・2026年 7月 1日	「FreeBSD 15.1 RELEASE」	「gnome-47」

 2026年9月18日、「FreeBSD 14.5 RELEASE」へのインストール時のバージョンは、下記のとおりです。


pkg info gnome


gnome-47
Name           : gnome
Version        : 47
Installed on   : Fri Sep 18 15:37:30 2026 JST
Origin         : x11/gnome
Architecture   : FreeBSD:14:*
Prefix         : /usr/local
Categories     : gnome x11
Licenses       : NA
Maintainer     : gnome@FreeBSD.org
WWW            : https://www.gnome.org/
Comment        : Metaport for the GNOME desktop
Annotations    :
        build_timestamp: 2026-09-17T04:15:20+0000
        built_by       : poudriere-git-3.4.8-3-gd92fb7c0
        flavor         : full
        port_checkout_unclean: no
        port_git_hash  : e9e40e40c5d926e4d17c156665b69e8073cc863b
        ports_top_checkout_unclean: no
        ports_top_git_hash: 404e42d65487d55704b52497da24cfc7cdba6e2a
        repo_type      : binary
        repository     : FreeBSD
Flat size      : 243B
Description    :
This metaport installs the entire GNOME desktop, including
the user applications released with it.


3. 環境設定

 「root」ユーザ権限で。
 日本語環境を設定します。


cat << 'EOF' >> /etc/profile
export LC_ALL="ja_JP.UTF-8"
export LANGUAGE="ja_JP.UTF-8"
export LANG="ja_JP.UTF-8"
EOF

cat << 'EOF' >> /etc/csh.cshrc
setenv LC_ALL   "ja_JP.UTF-8"
setenv LANGUAGE "ja_JP.UTF-8"
setenv LANG     "ja_JP.UTF-8"
EOF


 ユーザ用パスワードを設定します。
 ユーザ名「hogehoge」として。


saslpasswd2 -c hogehoge


 パスワード入力を促されますので、2回入力します。
 「fstab」の設定を行います。


cat << 'EOF' >> /etc/fstab
proc                    /proc   procfs  rw              0       0
EOF


 「pam」の設定を行います。


vi /etc/pam.d/system


 末尾に下記の行を追加します。


session         required        pam_ck_connector.so     nox11


4. /etc/rc.conf 編集

 デーモン群を起動するようにします。
 「root」ユーザ権限で。


sysrc dbus_enable=YES
sysrc gdm_enable=YES
sysrc avahi_daemon_enable=YES
sysrc avahi_dnsconfd_enable=YES


5. 再起動

 再起動します。
 「root」ユーザ権限で。


reboot


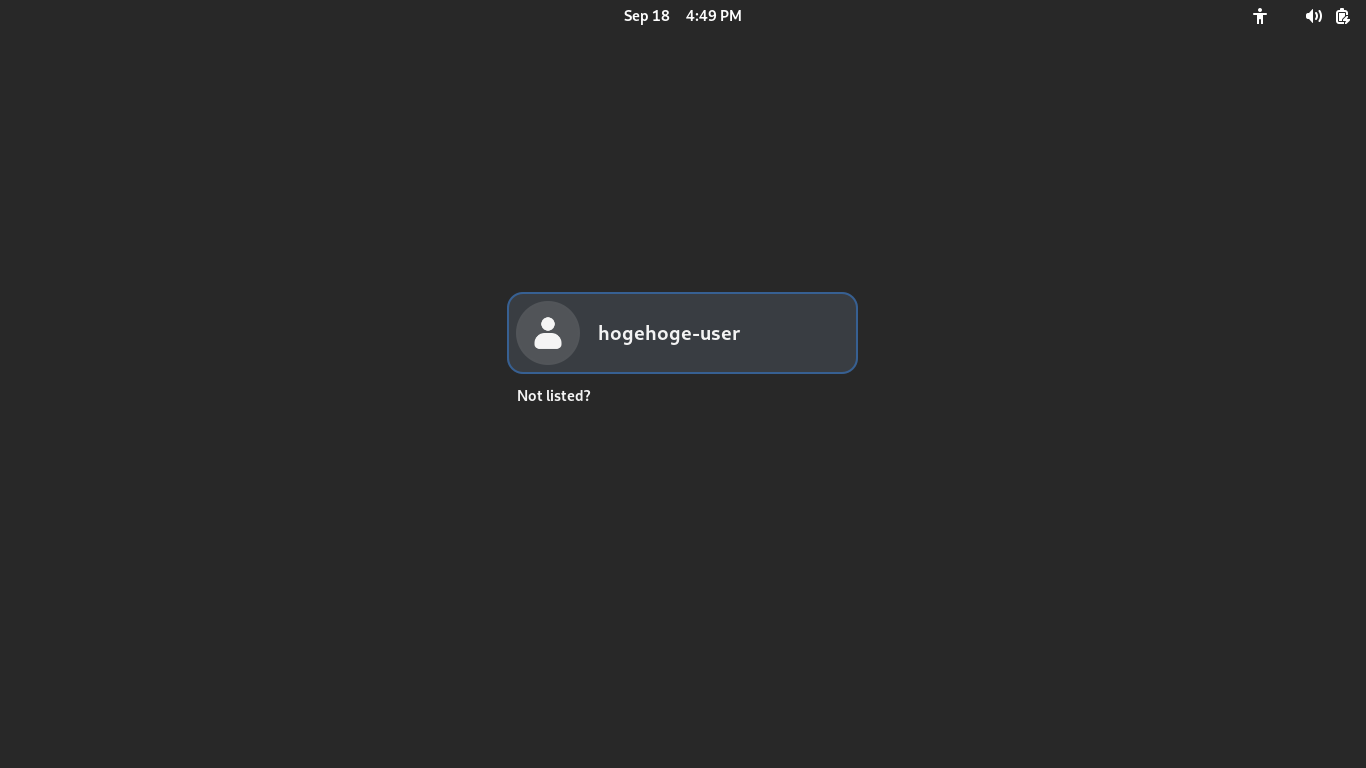
 再起動後、以下の画面が表示されれば基本的な設定は完了です。
6. 補足

 前項の画面は、本項、適用後のものです。
 今回、ログインマネージャ(gdm)で解像度がうまく設定できない。
 わたしは、解像度を「1366x768」にしたいのです。
 ログインしたら、解像度がうまく設定できるので。


xrandr


 で設定を確認後、ログアウトして。
 コンソール端末で。
 「root」ユーザ権限で。


vi /usr/local/etc/gdm/Init/Default


#!/bin/sh


 シェバンの直下に下記を記述します。


set +e
/usr/local/bin/VBoxClient --vmsvga-session 2>/dev/null || /usr/local/bin/VBoxClient --display 2>/dev/null
sleep 2
xrandr --output VGA-0 --mode 1366x768 2>/dev/null || xrandr --output VGA-0 --mode 1366x768_vbox 2>/dev/null


 これで、うまく解像度が設定されました。
 これでもだめな場合は。
 シェバンの直下に下記を記述します。


exit 0


 シェルスクリプトを作成。


cat << 'EOF' >> /usr/local/bin/gdm-vbox-res.sh
#!/bin/sh

sleep 2
/usr/local/bin/VBoxClient --vmsvga-session >/dev/null 2>&1 || /usr/local/bin/VBoxClient --display >/dev/null 2>&1
sleep 1
xrandr --output VGA-0 --mode 1366x768 >/dev/null 2>&1 || xrandr --output VGA-0 --mode 1366x768_vbox >/dev/null 2>&1

exit 0
EOF

chmod +x /usr/local/bin/gdm-vbox-res.sh


 起動ファイルを作成。


mkdir -p /usr/local/share/gdm/greeter/autostart

cat << 'EOF' >> /usr/local/share/gdm/greeter/autostart/vbox-res.desktop
[Desktop Entry]
Type=Application
Name=Fix GDM Resolution
Exec=/usr/local/bin/gdm-vbox-res.sh
NoDisplay=true
X-GNOME-Autostart-Phase=DisplayServer
EOF


 これで、再起動します。

7. 参考サイト

 本ページは、「Gemini」伍長を参考にさせていただきました。
|